
Apply Custom Domain
- Prerequisites
- Select Your Spin Application
- Input Your Custom Domain
- Update Your Domain Registrar With Fermyon Cloud Name Servers
- Verify Domain Has Been Delegated
- Next Steps
Custom domains enable you to bring your own domain to Fermyon Cloud. Unlike generic or randomly generated domains, a custom domain reflects the brand, identity, or purpose of the workload. For a conceptual overview of custom domains on Fermyon Cloud, visit Custom Domains on Fermyon Cloud. This tutorial will walk you through how to apply a custom domain to your Spin application running on Fermyon Cloud.
Please consider these limitations of delegating your apex domain to Fermyon Cloud first.
If you prefer video format, you can watch the following instructional video (which is complimentary to the text-based content on this page).
At the end of this tutorial, you will have delegated your domain to Fermyon Cloud. Let’s get started!
Prerequisites
To ensure the tutorial goes smoothly, please ensure you have the following:
- Most importantly, you must have a domain you own. If you don’t have a domain, please visit a domain registrar like Namecheap or GoDaddy to purchase one.
- A Fermyon Cloud account that is set up via your preferred GitHub user account
- A Spin application already deployed to Fermyon Cloud that you would like to apply the custom domain to. If you aren’t familiar with how to deploy an application on Fermyon Cloud, check out our develop a Spin application article to learn how to build a Spin application and then our deploy a Spin application article for deployment instructions.
Select Your Spin Application
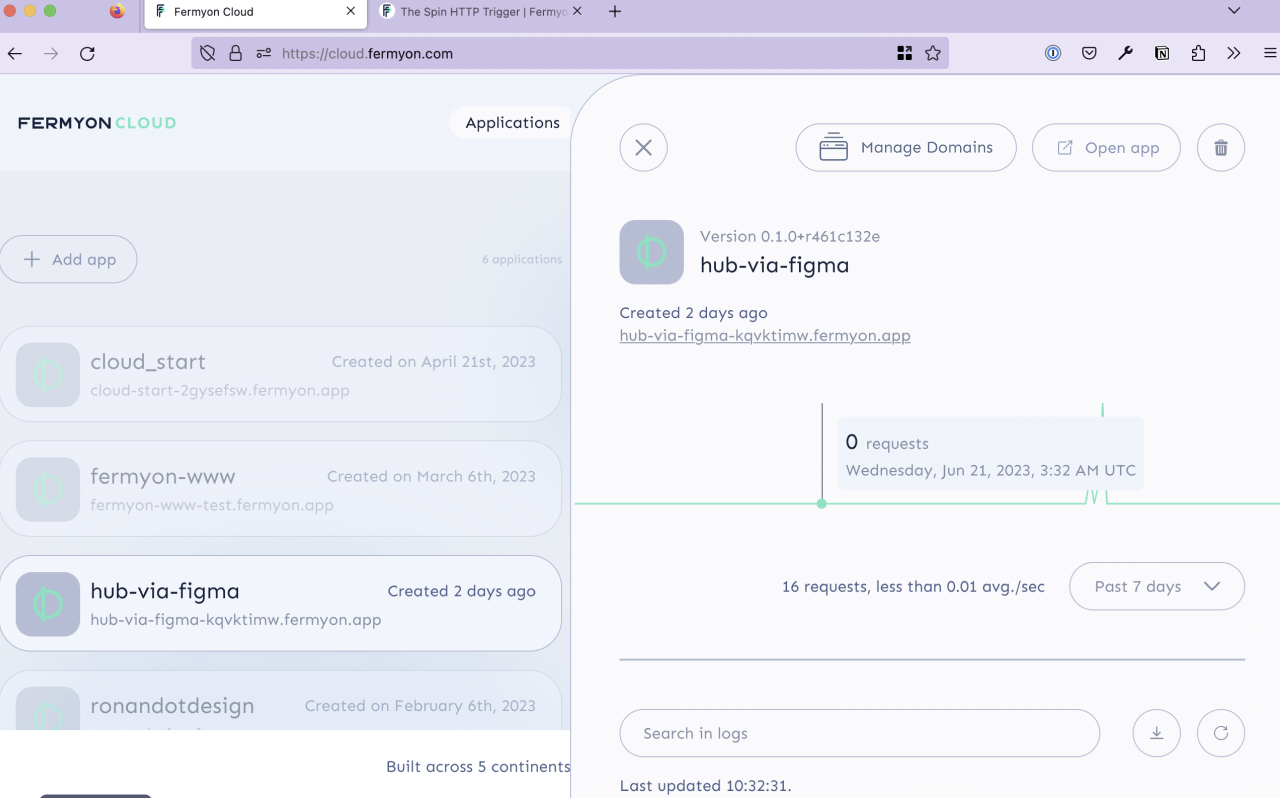
In the Fermyon Cloud Dashboard, navigate to your Spin application of choice and click the “Manage Domains” button.
Input Your Custom Domain
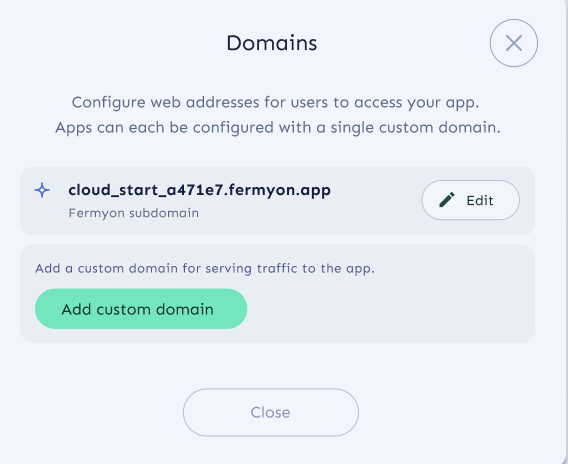
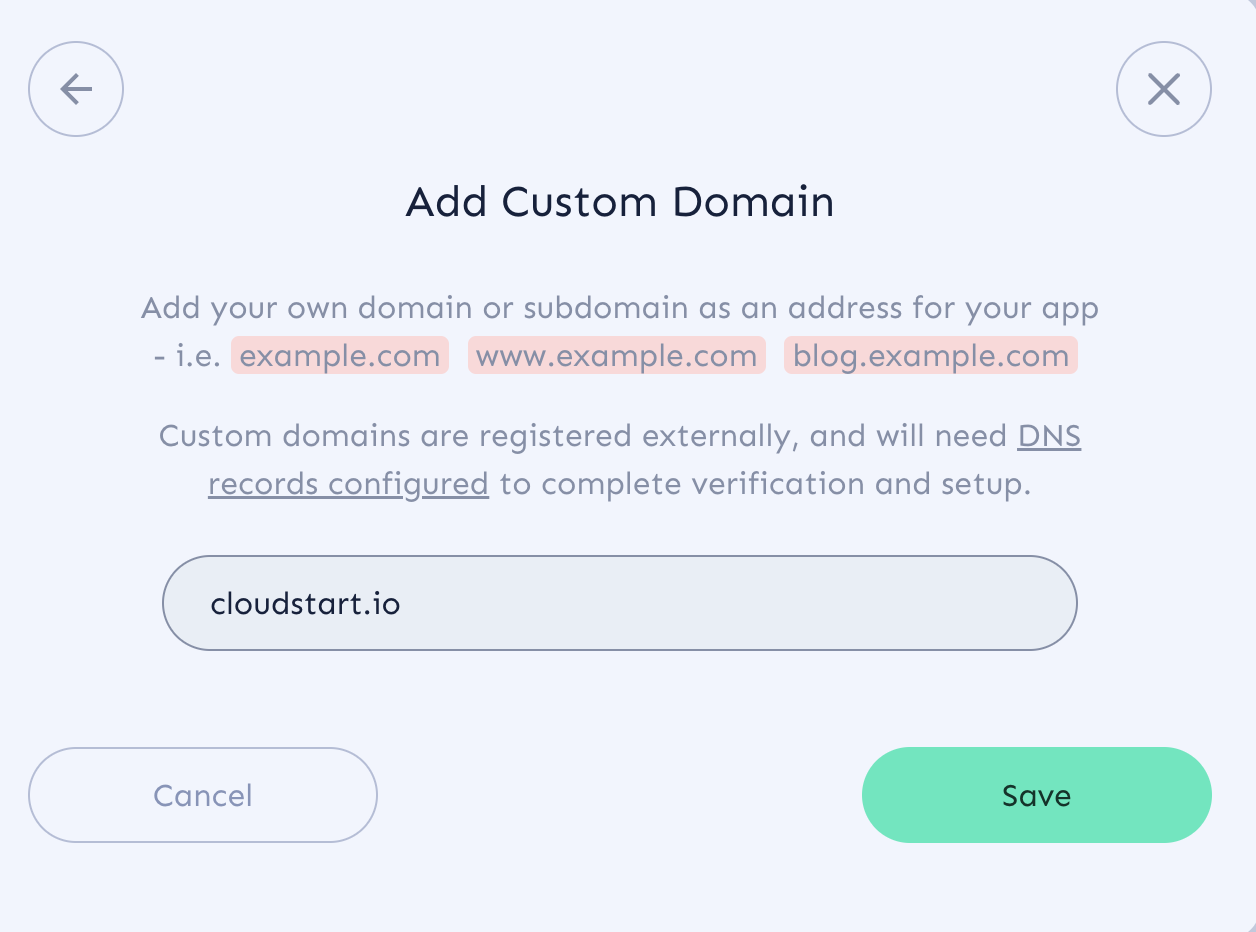
Select the “Add custom domain” button and input your desired domain name.
Please add the complete domain name (e.g. www.example.com) as Fermyon Cloud does not support redirects at this time. Click save to confirm you would like to add this domain name to Fermyon Cloud.
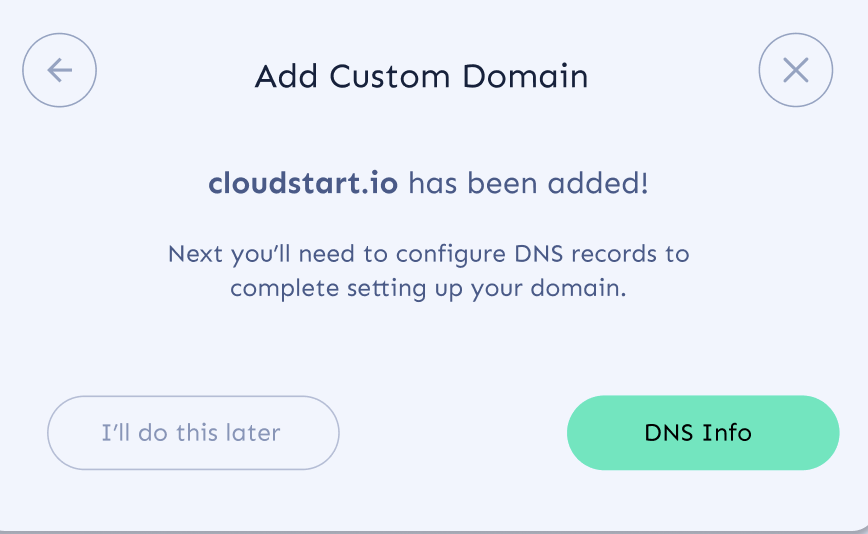
Up next, you’ll need to configure your DNS records with your registrar to point at Fermyon’s name servers (NS).
If you click “I’ll do this later” you will be pausing the workflow and your custom domain will not work yet with your Spin application. You can navigate back to the “Manage Domains” workflow to resume your journey.
Update Your Domain Registrar With Fermyon Cloud Name Servers
At this point, Fermyon Cloud checks to see if you’ve previously associated your domain with Fermyon Cloud before.
If you have previously associated your domain, there’s nothing more to do in this step! Skip ahead to the next step.
If, however, this is the first time Fermyon Cloud has seen the domain, you will need to visit your domain registrar to delegate your domain to Fermyon Cloud. Domain delegation is the process of reassigning nameservers for a domain name to another DNS provider, which allows said nameservers to handle all DNS requests and queries for that domain.
In this step, you will update your existing nameserver records at your domain registrar to be replaced by Fermyon Cloud’s nameserver records. Fermyon Cloud will automatically generate four nameserver records for you.
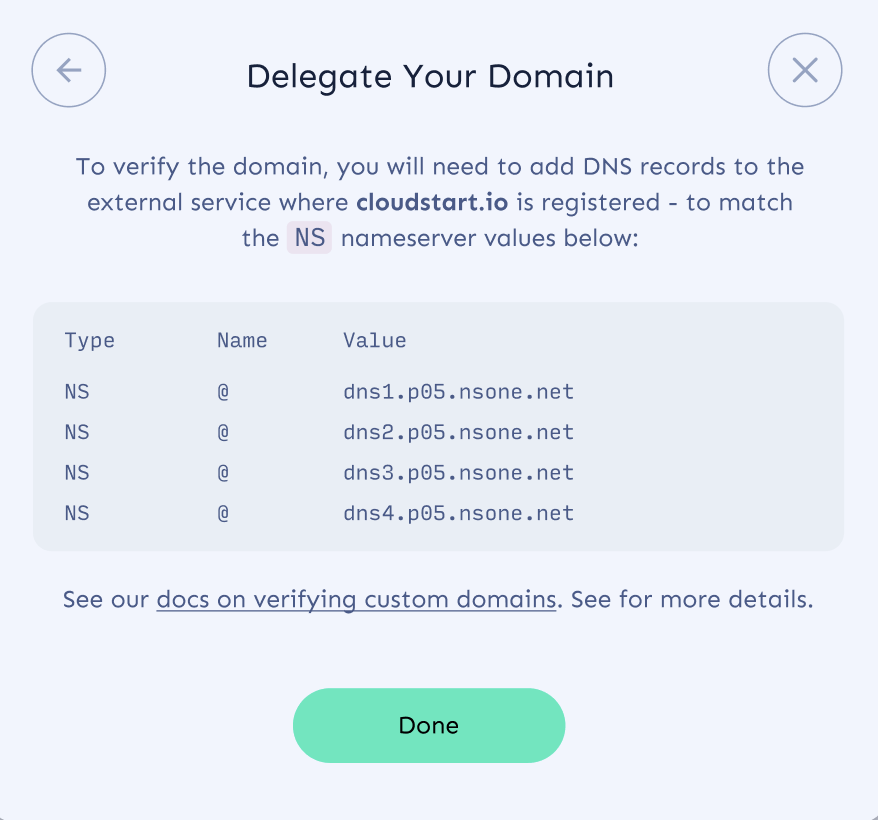
Please copy all four nameserver records and use them to replace your name server records with your domain registrar. Each domain registrar has its own unique set of instructions for completing this workflow. Please visit your domain registrar’s documentation for instructions on how to update your nameserver records. For your convenience, we’ve sourced instructions for Google Domains and Namecheap.
Note that you do not need to provide a SSL certificate. Fermyon Cloud creates one internally using Let’s Encrypt, and will keep renewing it for the lifetime of your Spin application.
Verify Domain Has Been Delegated
Please wait for up to 72 hours for the change to be processed. Once the verification process has been completed, you should see a green checkmark next to your custom domain.
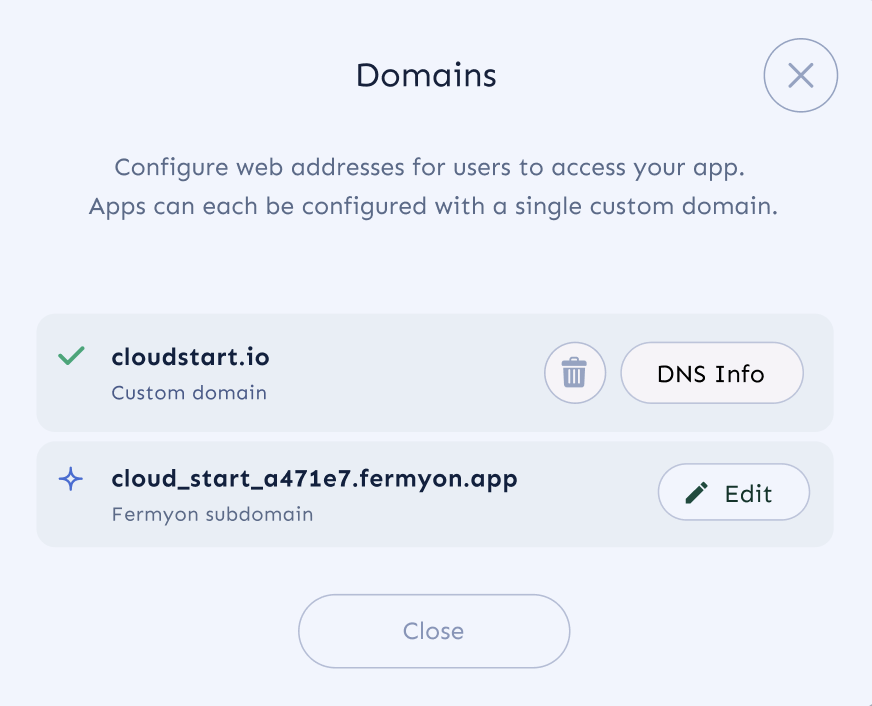
The NS records will always be accessible via the “DNS Info” button.
Next Steps
- Visit Technical FAQ for troubleshooting assistance
- Check out Pricing for billing-related questions